Tuesday 31 December 2013

New Stripes

Hello there, it's been a while!
I didn't mean to be offline for so long, caught up in a whirlwind family visit and a move to a new flat (my sewing machine surived, thank goodness) and everything that comes with the build up to Christmas.  This blouse was supposed to be my entry in le Challenge way back in November, but I couldn't finish the hem in time to post it and so it's been living in a moving box till now.  Embarassingly late, but here it is!
 Another reason to post now comes from an email sent to me from a reader named Heather.  I stick to sewing related stuff on this blog but Heather's email hit close to my heart.  Heather was diagnosed with the same disease, mesothelomia, that I lost my father to a few years ago. Both were exposed to asbestos in their younger years. 
If you know it, you know that this diagnosis doesn't leave much room for hope, which makes Heather's story all the more amazing because she's been cancer free for 8 years.  You can read more here.

To help raise awareness, Heather has asked me and other bloggers to name something we're grateful for.  My Dad was always full of life, the soul of the party and loved to celebrate. In the spirit of this, I'm grateful the New Year, new starts, new stripes.

Happy New Year.


Friday 1 November 2013

Peplum no. 2

Thank you for all of your nice comments on my first peplum...it sounds like I'm not the only one with peplum trepidation!  
I'm just back from a family trip to Ireland to visit my husband and brother-in-law's sides.  (A sweet coincidence, my sister and I both married Irish guys.) Sure enough, it rained but it was cozy and we had moments of sunshine, and to be honest a small part of me looks forward to this weather...forced hibernation/sewing time!
Me, my mom and my niece playing in the Irish Sea 
 So anyway, here's number 2, a more prim version inspired by this Goat dress I spotted in a posh department store, when taking the long way to the tube after work one night.  I fell in love with the colour and the front pleats (but not the price tag), and remembered that I had a metre of red wool gabardine left over from my gathered dart skirt and tutorial.   So with my patternmaster and trusty blocks I was able to create something like it (take that, posh department store)!
Like my last peplum, a metre of fabric was only just about enough.  I would have liked the sleeves to be a little bit longer, only about an inch or so.  Maybe I'll replace them if I get hold of this fabric again....maybe not.

Here it is with the matching red gabardine skirt.  
A couple of things I learned --
- I splurged on some really soft red silk to line the peplum, but it wasn't happening.  Even the fine silk was bulky enough to throw off the symmetry between the bodice and the peplum.  I ended up using bias tape on the seams, because I wanted a crisp and neat finish on the hem and side seams...

- ...but this gave the peplum too much body, which I loved at first, but it caused the folds of fabric to flip inside out.  To remedy this, I pressed a seam on the inside of the folds and let the outsides curve naturally.
Safe to say I've got peplums out of my system for now.
Hope everyone is keeping warm, happy sewing!

Friday 18 October 2013

late adopter peplum

I've been resisting the urge to make a peplum since the second they appeared, convinced that no sooner would I snip the last thread on a project that it would be sent to live in the bowels of my closet until the peplum's sartorial return in sometime around 2025...but with these skirt/top hybrids still everywhere, and not really going anywhere, I finally did what any self respecting sewing addict would do and made up for some lost time by sewing not one, but two!

Here's the first, in a Liberty print silk called Shinjuku Nights.  I spotted the fabric when walking past Our Patterned Hand in Broadway Market I couldn't get the retro style Asian city print out of my mind, turning back in an almost panicked fashion to elbow my way through throngs of hipsters buying gluten free biodynamic bread and fancy cakes to score myself a metre.  Success!  Then I couldn't stop thinking swingy asymmetrical pleated peplum...
I lined the peplum with silk georgette remnant from the dress I entered in last year's Tessuti awards.
I added another recent find to the neckline - these whimsical dress clips in the shape of small leaves.  I am also slightly obsessed with these and now feel like every new outfit needs a dress clip...
This was super fun to sew and it's even more fun to play with a new (to me) silhouette.  Man what took me so long?  Are you still on or now off of peplums? (Or, were you never even on?)

Tuesday 8 October 2013

make this pattern part 3 - assembly tips

 Wow, I've spent the last week days knocked back with one almighty cold.  I'm still not quite better, but on the plus side I got to catch up on all my missed episodes of Downton Abbey...aren't you loving the fashion this series?

I promised these sewing tips for the Summer and the City Pattern.  Now that you've drafted the bodice pattern, (see parts 1 and 2) here are a few suggestions on assembling the dress. I'm using this lightweight woven polka dot fabric from my stash.

In my first version, I've used self facing for the bodice and in this version I'm using a traditional lining for the full length -- it's your choice.
I've also used a 22" zipper.  

29)  Once you have your bodice lining and fabric pieces cut out, iron in the seam allowance at all shoulder seams, pressing wrong sides together.  Remember we want a slight curve at the shoulder.  This is tricky to iron in, and don't be too hard on yourself if it doesn't look perfect as you can bring ot the curve at the sewing stage.

30)  a) Sew the main fabric together at side seams, leaving the centre back seams unstitched.  
b) Do the same for the lining. 
c) Sew the lining and bodice pieces right sides together i) at the V-neck ii) at the arm holes iii) at the top of the bodice back.  
Leave the the shoulder seams and centre back seam free. 
31)  Make small clips in the arm hole area, making sure not to go through the stitch line
32)  Turn the bodice right side out and press all stitch lines.
33) Stitch the front and back shoulder seams of the main fabric right sides together, paying attention to creaing a very slight curve to mimic the pattern.  Be careful not to catch the lining.
There are different ways to finish the lining.  If you're very dexterous with your sewing machine you can machine stitch most of it, but this can be tricky to do and I usually prefer to hand stitch.  
34)  Pin the lining in place and stitch along the pressed seam allowance fold.
The skirt is a basic dirndl skirt.  Measure the full circumference of the waistline of the bodice pattern and, depending on the weight and thickness of the fabric you're using, cut a rectangle for the skirt with a skirt to waist ratio of about 2 to 1 or 2.5 to 1.  (Or maybe the ratio will simply be decided by the amount of fabric you have left to work with--usually is the case with me!)

Now you have another choice:
- You can gather the rectangle to meet the waistline as one full piece, leaving a centre back seam for the zipper.
-  Or, you can add side seams with pockets.  In this case, cut the rectangle in half, and then halve one piece again.  The larger rectangle is the front of the dress.  The two smaller ones will make up the back of the dress.

Here's how to make the pockets:
35)  Draw a long curve around the shape of your hand
36)  Connect the opening of the curve with a staight line and add seam allowance to the entire piece.

37)  Decide on your pocket position, and sew the four separate pocket pieces onto the skirt pieces, along the seam allowance, right sides together
38)  Press the pocket open.
Now all you need to do is sew along the side seams as you normally would, but taking a detour at the pocket by pivoting at the top and bottom of the pockets (right sides together) and leaving the opening free.

Gather the top of your skirt and stitch in place, matching the side seams.

Finish as your normally would, adding the hem, zipper and zigzagging or serging any raw seams.

As always I'd love to know if you made this dress!

Stay healthy x

Saturday 28 September 2013

make this pattern part 2

It's Part 2 of Make this Pattern for the Summer and the City dress.

Just a quick reminder - normally you would work from a block without seam allowances and add them in at the end. Since we are working from a bodice pattern that already includes 1.5cm seam allowances, we have to include them on the style lines we draw in to create the v-neck and cap sleeve.  

Here we go:

23)  a) On the bodice front, measure in 3.5cm from the neckline along the shoulder and mark. 
b) Measure 12cm down from the neckline on the centre front and mark.
c) Connect these two points with a straight line.  These measurements account for the 1.5cm seam allowance included in the pattern.  
d) Make a notch where the sewing line meets the centre front.  This is the pivot point when you sew the vneck.
24)  a) Glue a scrap piece of paper along the bodice front arm hole, extending all the way to the side seam.
b) The shoulder of the bodice on this pattern extends out over the top of the shoulder somewhat.  Draw a slightly curved line outward from the tip of the shoulder measuring about 3.5cm (the exact length of the line is up to you, just remember that it needs to include the 1.5cm seam allowance).   This is the cap sleeve.
c)  From the end of the cap sleeve, draw another freehand line which meets the arm scye dart.  Remember that this will include 1.5cm of seam allowance.
The next step is up to you.  I've dropped the arm hole a little because I prefer to wear sleeveless garments with more room in the arm. (I don't particularly like when the fabric rubs up closely against my underarm, especially for summer garments!)  I also think it works better with the v-shape of this pattern. This is totally up to you, I know many sewers feel the opposite way.
If you do want to drop the arm scye like I have here's what you do:
25) Measure 1cm down from the arm scye and draw a freehand curved line to join at the arm scye dart.
Now we have to make sure the bodice back matches wht we've done on the bodice front.
26) Measure 3.5cm from the neckline on the bodice back and draw a curved line to the centre back, dropping it slightly.
27)  a)  Glue a sheet of scrap paper along the arm hole for the bodice back.  
b)  Take your pattern for the bodice front and place it on top of the bodice back, so that the shoulder seams line up perfectly.  Trace the new cap sleeve onto the bodice back, and the line which connects to the arm scye dart, so that you have a matching front and back.
28)  If you've dropped the arm hole on the bodice front, make the same adjustment on the bodice back, measuring 1cm down.
You should now have a bodice front and back that look something like this.  
A couple of things to check:
- Measure your shoulder seams - do they match?
- Measure your side seams (excluding the dart excess on the bodice front) - do they match?

As with any garment you draft, it's really important to sew a quick muslin to see if any further fit adjustments need to be made.

Click here for Part 3 - a few tips on sewing it together, and show how I made the pocket for the dirndle skirt.


Friday 27 September 2013

make this pattern


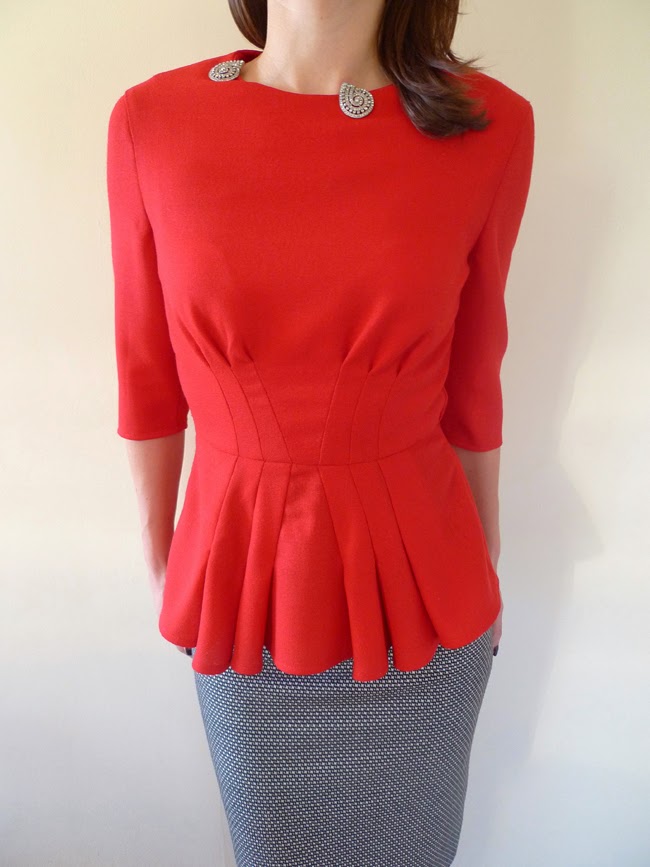
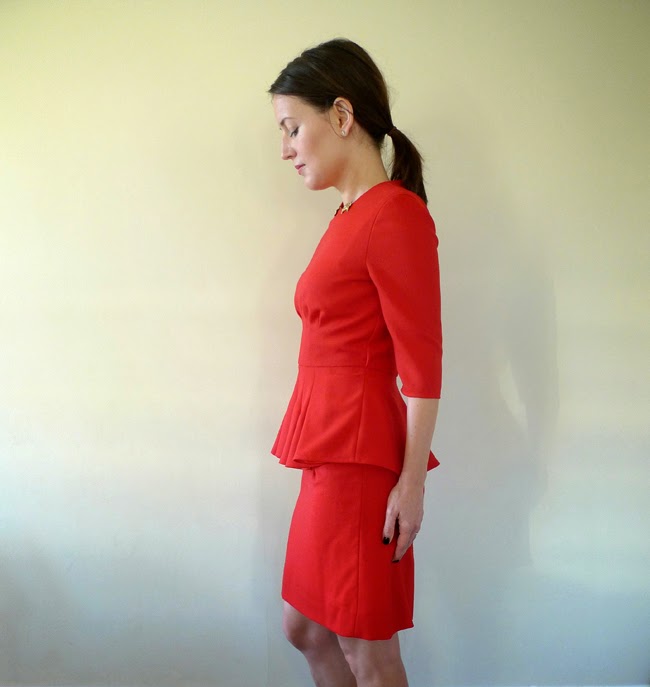
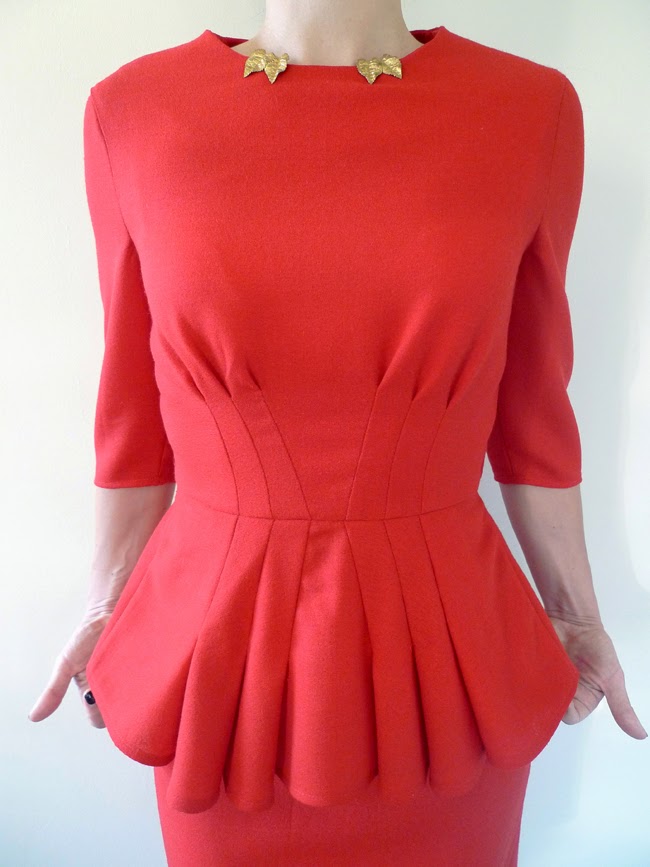
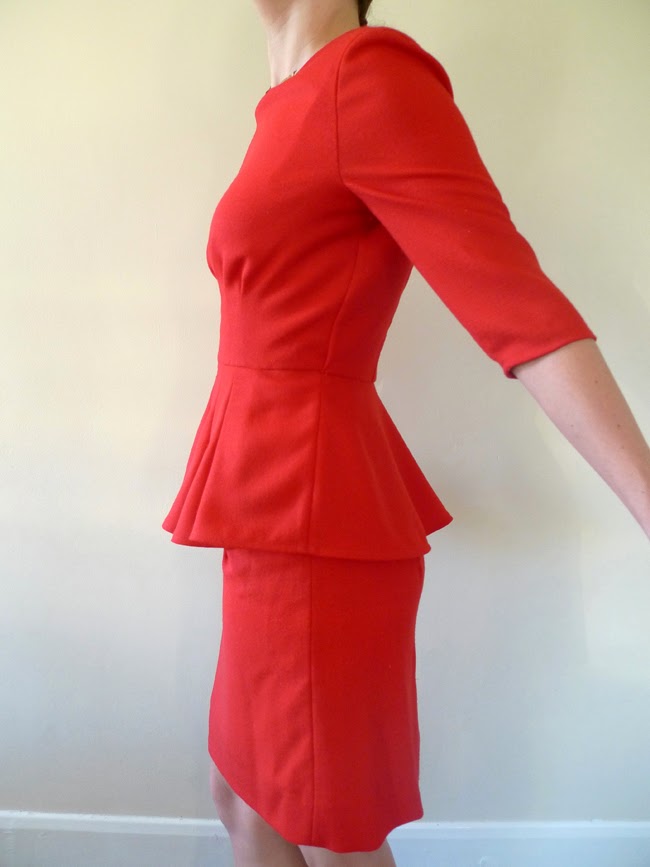
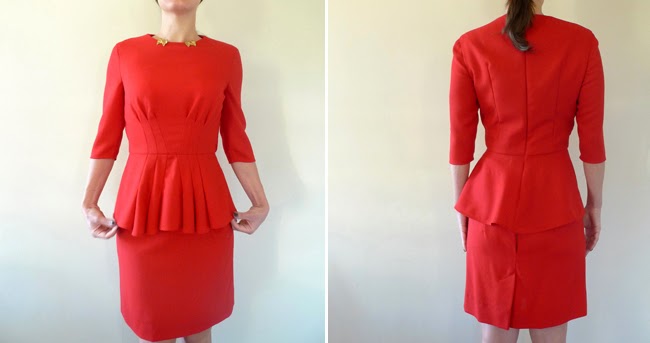
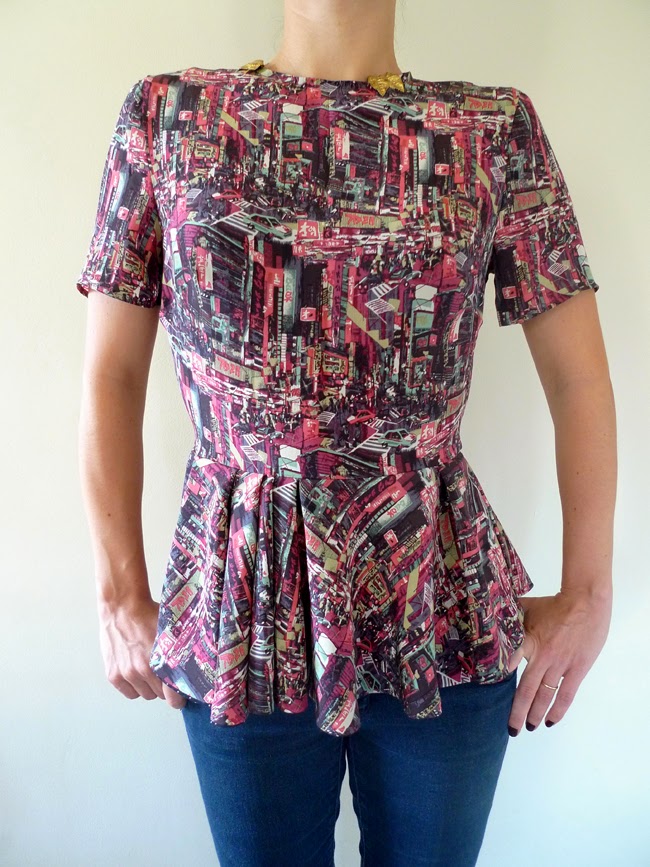
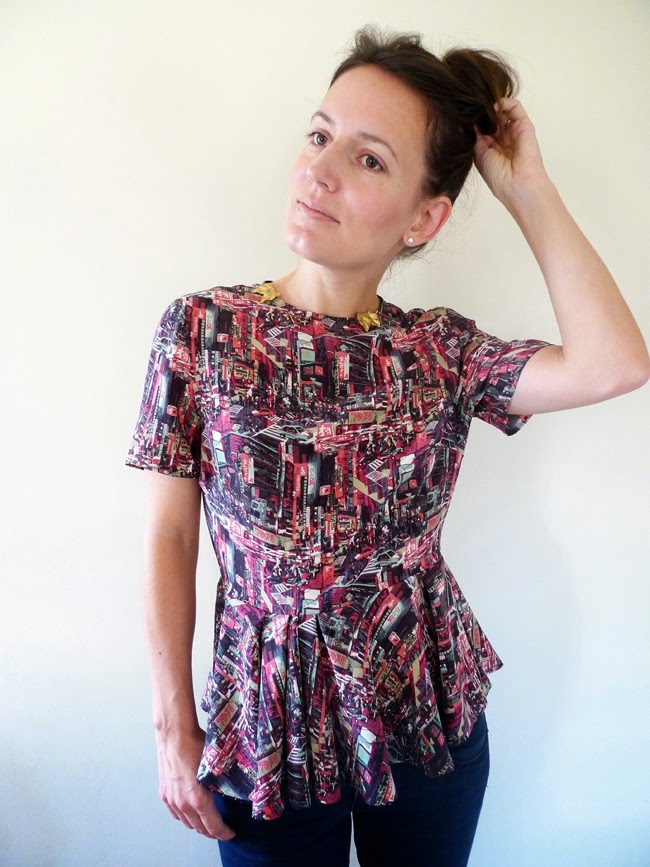
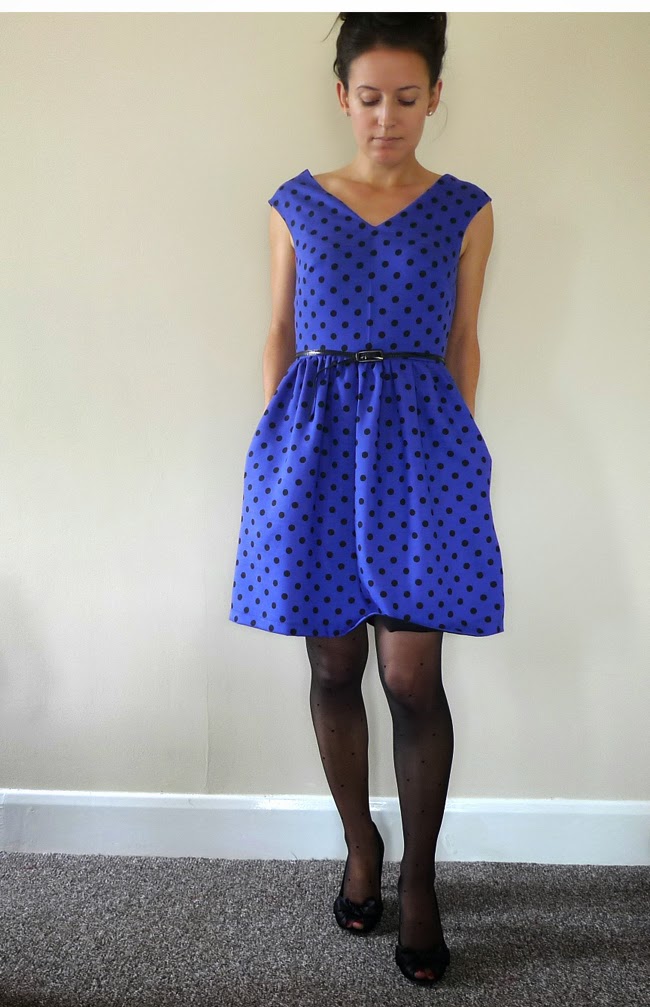
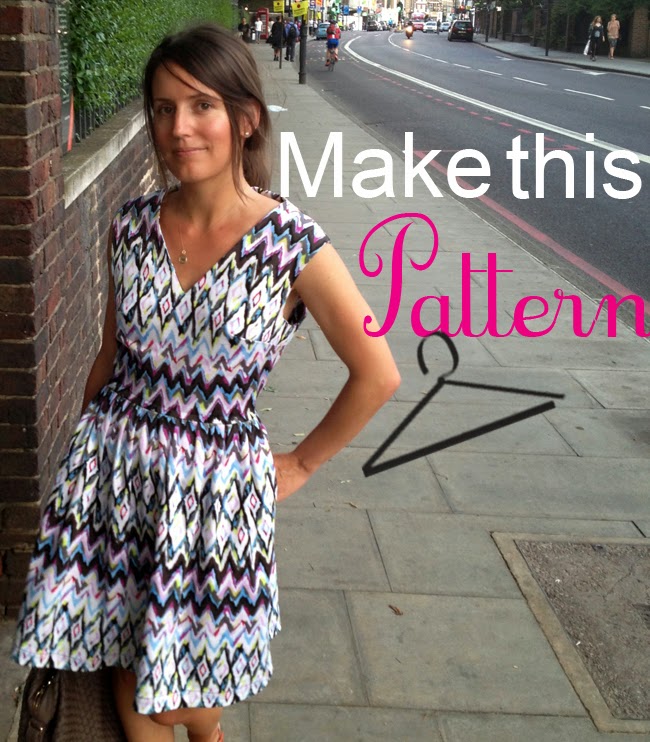
Happy Friday!  Here's a new tutorial  for you.  A few of you mentioned that you'd like learn how to make my Summer and the City dress, so I figured out a way to show you how to draft the bodice yourself.   If you do want to make this but don't have time now, you can find it later in the "Make This" section on my blog.

Here's what you'll need:

          • base pattern (download it here)
          • glue stick / tape
          • ruler
          • scissors
          • sharp pencil 
          • tracing wheel or something pointy
          • sheet of scrap paper
          • a coloured pen or pencil is useful but not necessary

We'll do this in 2 parts:

Part 1:  Moving the waist dart on the base pattern to the side seam, and making adjustments for a sleeveless garment
Part 2:   Drawing in the neckline and shoulder cap, and repeating for the bodice back.

Here we go with Part 1.  Our base pattern has a waist dart, but we want a bodice with a bust dart at the side seam.  Here's how to move it over, and make a couple more adjustments along the way. 

1)  Print out the base pattern and cut your size.  Refer to the size chart below.  I'm working on a size 10.


Here's a quick cheat sheet on some of the terminology used below.

2)  Draw a line through the centre of the waist dart and through it.  (Make you draw exactly through the centre of the dart that corresponds to the size you cut out)
3)  Placing a ruler on that line, measure 2cm up from the tip of the dart.
4)  Mark this point.  This is the actual bustpoint for the bodice pattern and referred to from here on as the dart apex.


5)  Draw the new waist dart, joining the apex of the dart to the bottom of the dart legs for your size.  


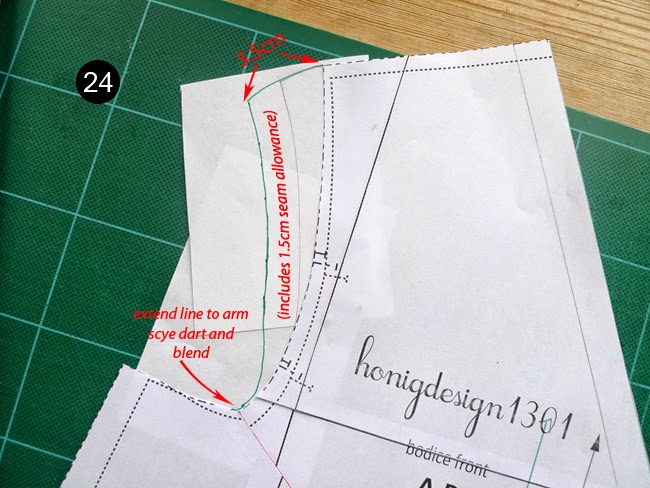
6)  At the bodice side seam, measure 10 cm down from the arm scye and mark.
7)  Draw a line from this point to the dart apex
8)  Using scissors, cut or "slash" the left leg of the waist dart to - but not through - the dart apex.
9)  Now do the same along the newly drawn line from the side seam to the dart apex:  slash to but but not through the apex.

10) Now you have a moveable lower left corner of the bodice.  Close the waist dart by moving the left leg of the waist dart to the right leg and glue or tape securely.  This will open up the bust dart.

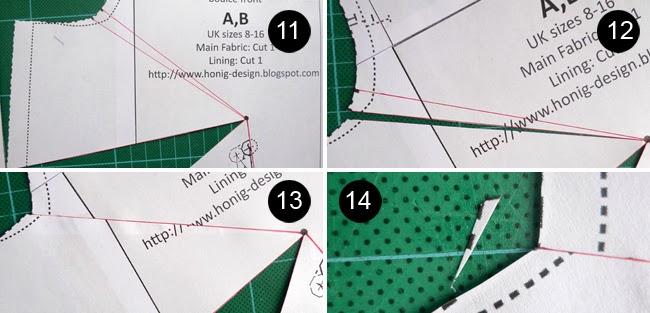
11)  On the pattern you've downloaded, you'll notice some small circles on the arm scye.  These represent the arm scye dart.  (I am working from a different print out and have marked these points with my pencil above.)  Draw a line from the two circles on the arm scye on your size to the dart apex.
12) Slash the lower dart leg along the line you drew, to the dart apex
13) Close the dart by moving the lower and upper dart leg together and glueing or taping the overlap in place
14) Clip away the small excess


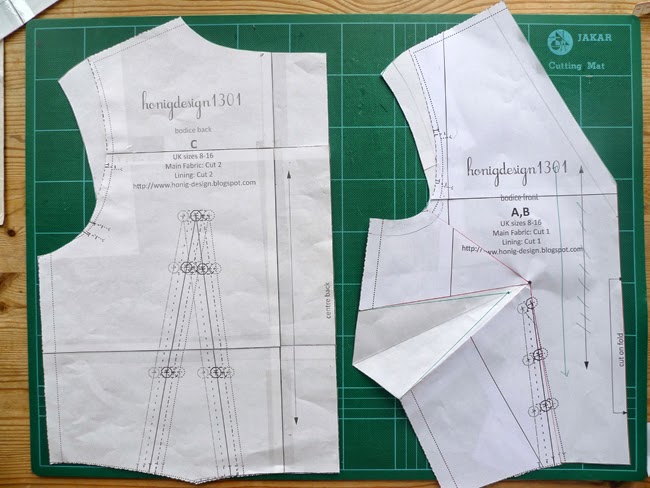
You now have a very wide bust dart on the side seam, and you've closed the waist dart and the arm scye dart.
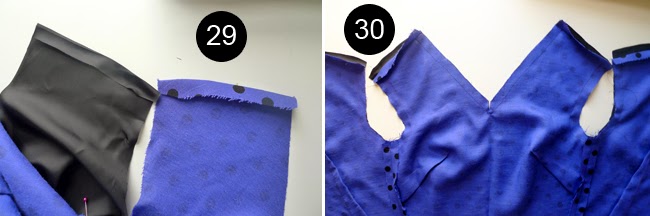
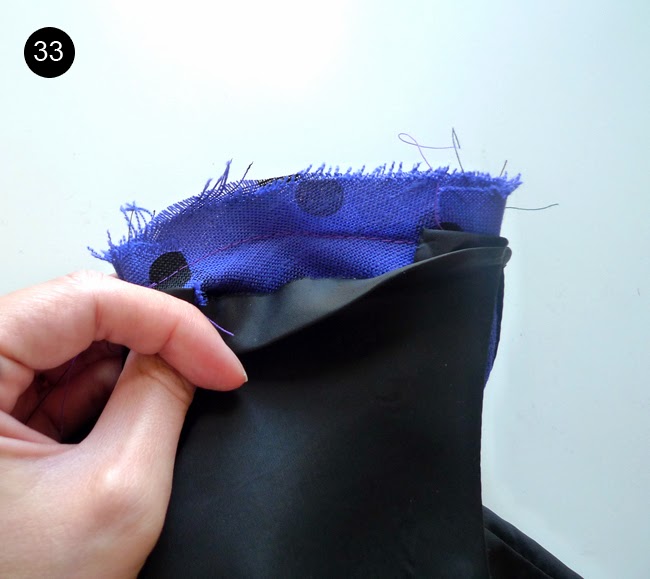
15) Glue or tape the new bust dart onto a piece of paper.

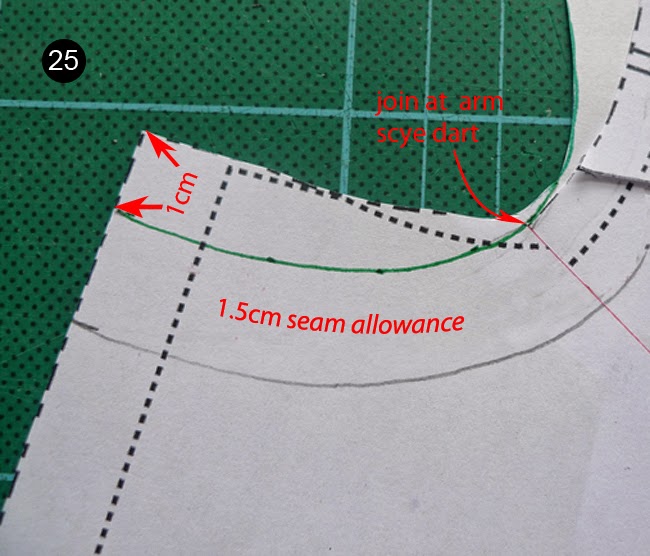
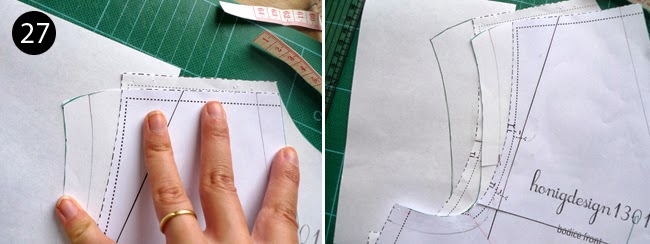
16)  Now we want the bottom leg to meet the top leg of the bust dart.  Make a clean fold along the lower dart leg to the dart apex, as best as possible.  Press down along the side seam so that the layers of paper are neatly folded, and the lower and upper dart legs meet each other neatly. Using a tracing wheel or something pointy (I'm using my pivot tool) punch through the three layers of paper lightly, along the side seam line.
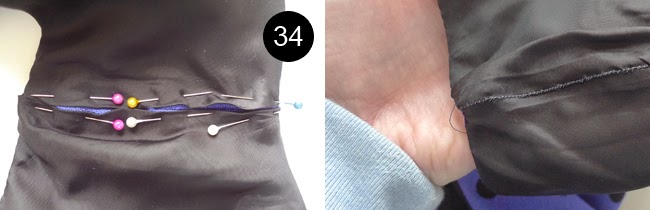
17)  Connnect the punched dots with a pencil.
18)  Trim away the excess paper.

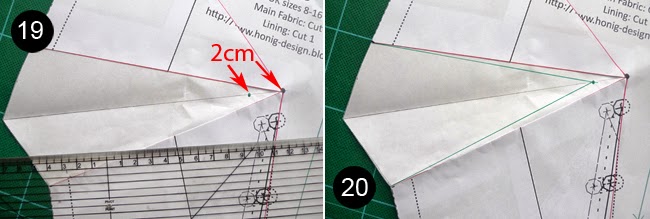
19)  Draw a line through the centre of the bust dart to the apex. Mark a notch 2cm down that line, to the left of the apex.  This is the new bust dart point.
20)  Draw in the legs of the bust dart by connecting the new bust dart point to the end of the original dart legs.

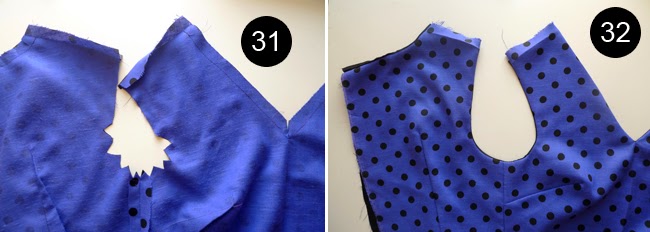
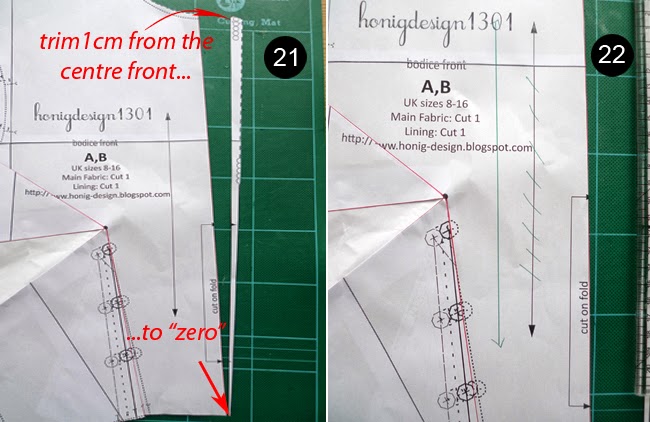
We have to make an adjustment for the V-neck. (If you do not want to add a V-neck, do not include this step)  
21)  Measure in one centimetre from the centre front at the neckline and mark.  Draw a long line from this point down the front of the to where the centre front meets the waist, or "zero".  Trim along this line.
22)  Draw in a new grainline parallel to the centre front.


We're nearly there - we've moved the waist dart, adjusted for the sleeveless bodice and lower neckline.  

Click here for Part 2 - How to draw in the neckline and the cap sleeve, and how to repeat this on the bodice back.