Friday 31 May 2013

the Cape of good Hope

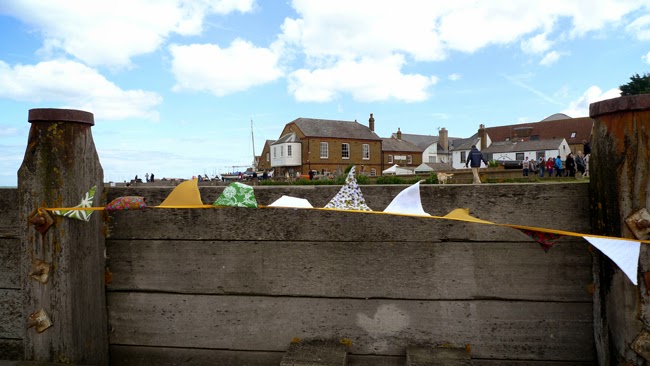
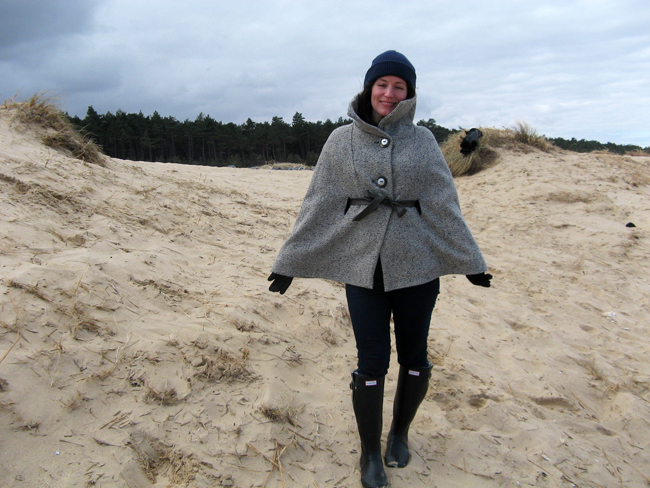
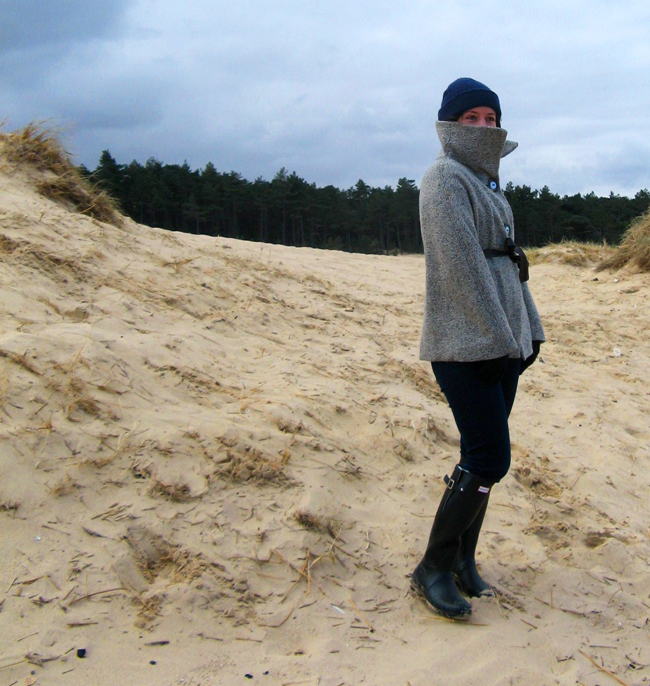
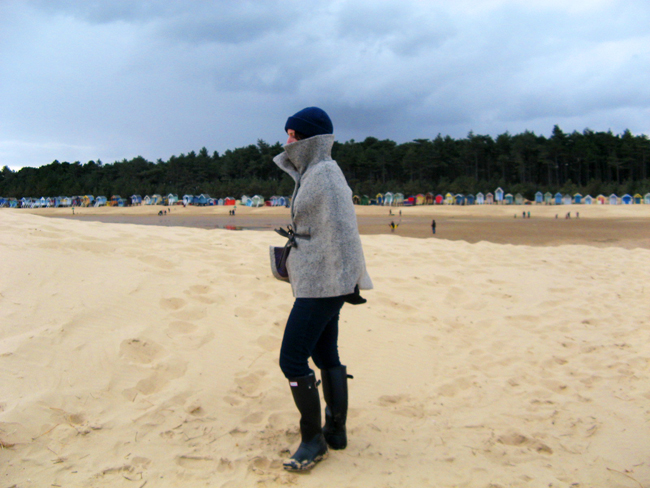
Here in England we've been anxiously hoping for warmer weather...the newspapers keep reminding us that it's been the coldest spring in 50 odd years or so.  Today the sun is finally out, so it feels strange to be posting about my wool cape!  It's not often though that I get such amazing scenery as a backdrop -- the pictures were taken in cooler weather at the amazingly beautiful Holkham Beach in Norfolk, that one in the final scene of Shakespeare in Love -- and didn't want these to go to waste.   Here I am doing my best stranded on the beach pose...well, good effort anyway.
This is not a new project, and there have been so many beautifully made capes all over the internet for a while now, but I thought I'd blog about it because if your'e thinking about trying a self drafted pattern, it's a fun and easy one to experiment with.  
 
Patternmaking guides will give you a technical how-to for making a cape, but capes aren't meant to be taken seriously and I don't think the pattern has to be either! All you need is some patience and to be willing to make up a toile or two.
What you'll have to do is take a front and back bodice block, or a commercial bodice pattern that you know fits you, extend at the waist to the hemline and draw matching "wings" from where the shoulder seam would be, eliminating the arm holes and waist dart.

A couple of things to keep in mind:
- make sure there is overlap at the centre front, for your button stand or closures
- measure across your bust and arms as a guide, and take into account the space needed for arm and shoulder movement 
- your arms can either come out the bottom, as they do here, or through larger holes in the front
- it's best of the block or pattern you are using has shoulder darts, to give some shape
- don't forget seam allowances!
- make sure to test and re-test your pattern with a toile
This cape has side seams and a seam down the back as well.
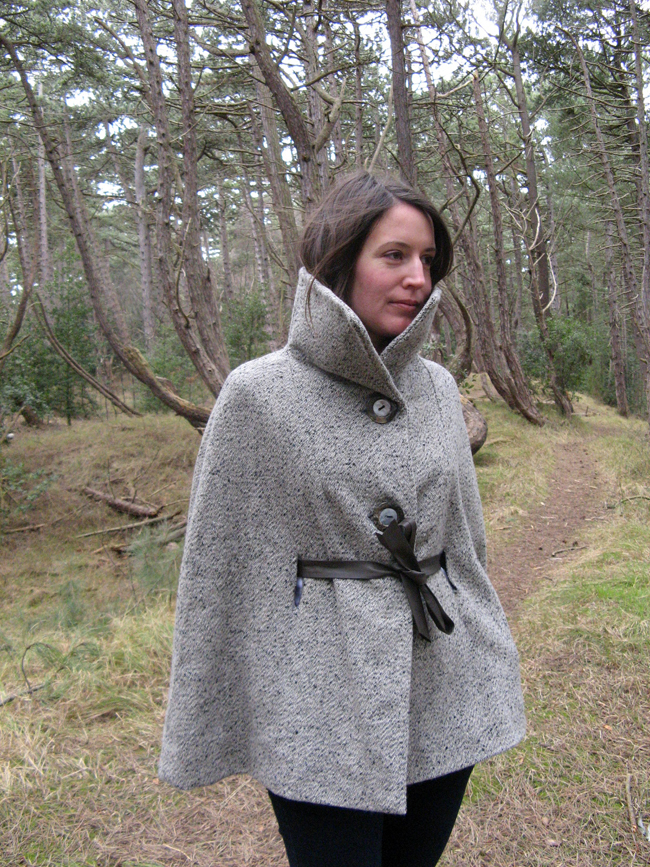
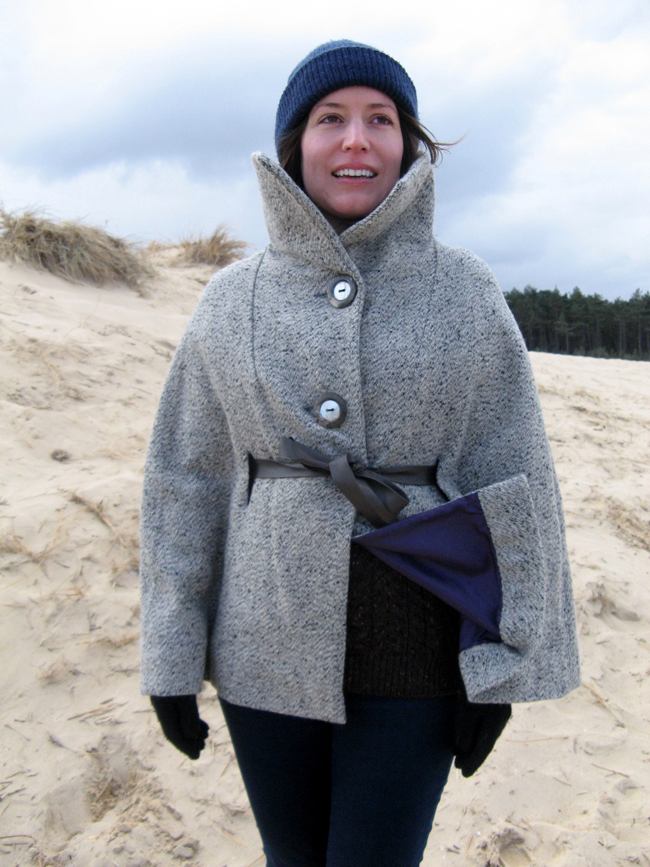
 I picked up the mother of pearl buttons at a fleamarket in Paris  (I say that so casually, like I go there every week-end - I wish!) The button holes themseves are, shall we say, "organic", zigzagged around the edges.  As it's not meant to be a formal cape, bound buttonholes weren't the look I was going for here, and I'm happy with the end result.
  I've had this in my closet for a few years now I can't say it's been a go-to piece, but I'm happy I have it and loved wearing it on this week-end get-a-way.
I added a high collar, stabilising with heavy interfacing, but it certainly doesn't need one.  
Right now my hope is that I won't have to wear this cape again until November...! 
Here's to the sun - have a great week-end! 


Wednesday 29 May 2013

waxing poetic

Anyone still looking for inspiration for a spring / summer sewing project?  Have you thought about an African wax print dress?
The talented Katy from Sleek Silhouette has just whipped up another GPD that's bound to turn some heads in the street, this time in this bold and funky wax print!

Thank you Katy, for another beautiful version!
I'm a big fan of wax prints - they are easy to sew with and the bright colours are instantly uplifting.  If you've seen my gallery on Burda you might recognise this dress (the first I ever posted!).  I still love the emerald green colour and gold flecks on that fabric.


In London African wax print is readily available - I'm a big fan of Dalston and Shepherd's Bush markets. There are so many variations to pick from and choosing the perfect print is part of the fun...so if you haven't already, get out there and find some - you won't regret it!


Tuesday 21 May 2013

GPD in Norway

  Just a quick post to share with you Trollemor's lovely linen GPD complete with contrast pockets.
 Elegant or what?  ...Can I wear this dress to work tomorrow please?
I just love the colour and the the weight and fall of the fabric with this pattern.  I think you'll agree Trollemor looks rather fetching!
In fact, this is her second GPD, the first in a light grey with a black lace contrast band below.
For more, check out Trollemor's blog, Stitches and Pearls.  It's full of some really lovely things and check out the recent posts on tradtional dress for Norway's National Day - wonderful.

Takk, Trollemor!


Saturday 18 May 2013

"Scrap Buster" Series - Stitchin' Timeline

There's been a lot written about "stash busting" - what to do with all those extra yards of fabric you've accumulated over the months and years since you began sewing.  Colette Patterns has just put out a great little design out to conquer that.  The bigger problem for me has always been what to do with scraps - you know, those little pieces left after you cut out a pattern - too small to make a garment from, too big (and too painful) to throw away...  So I thought I'd do a little series of my own to contribute to the ideas on what to do with scraps!
The first is one of my favourite adopted English traditions - bunting.  Little fabric flags which  hang from a ribbon and flutter in the wind.  You see them everywhere for parties, picnics and especially in summer.  They shout, "celebrate!"  and if you're a reader of my blog you may have already noticed  that I'm a fan.  Actually, I'm slightly obsessed.
I've made a lot of bunting over the years and I've also given a lot of it away.   To a friend who was getting married and wanted miles of bunting hanging from the trees, I passed on a strand from my own engagement party to get started.  I made my niece a strand for her bedroom, using fabric from dresses I'd sewn for her made of beautiful cotton voile fabric with whimsical fairy tale scenes.  
They are great personal gifts, they are reusable, and they are an instant gratification, low effort, mood enhancing sewing project, and you can never have too many.  But that's not my favourite thing...
...What I think is especially cool about bunting, if you already make your own clothes, is that they become little memory capsules of what you were sewing at a certain point in your life.  If you make them regularly then over time you'll have a catalogue of your projects and a reminder of how your tastes and styles have changed, and all the memories of your projects along the way...
I bought the colourful fabric on the left around the time my niece was born. It reminds me of the weather that week and how happy we all were, and even though the blouse I made wasn't that successful, I still get warm and fuzzy feelings when I look at it.  You might recognise the gold flag in the middle from my Elisalex and the green and white became an Anda.

The white flag is below is from the "bianco"dress that I made for my honeymoon, and the watercolour like flowers  to the right became a tea dress that I haven't actually worn yet, but I remember the sunny and slightly heady Saturday afternoon last year when I bought the fabric in Dalston market, after a few too many pub stops on the way!

So, on to the more important business of how to make your own.  There are no rules of course, but here's what I do.  I use bias binding for the string, and with three metres you can fit about 13 A4 sized flags.

First, draw a triangle shape (or any shape!) on a piece of paper.  Include seam allowance.  Cut two pieces for each flag - a front and a back.  
Sew the front and back right sides together, down the sides of the flag, leaving the top open.
Trim the bottom of the fag and turn right side out and clip away the seam allowance from the top of the flag.  Once you've finished all of your pieces, the fun part of arranging them.
As I mentioned I use bias tape as the string holding the flags together.  You'll need to iron it in half lengthwise first.
To attach each flag, sandwich each one between the bias tape, pinning each in place as you go.  I like to pin one at a time, measuring as I go and using pins to secure each new flag in place.  Sew close to the lower edge of the bias tape.
And there you have it!

I have a few more of my favourites to come -- but would love to know, what do you do do with your scraps?


Friday 10 May 2013

The Clara GPD

Wow!!  Nicole at The Somnolent Dachshund has just posted her beautifully simple long sleeved GPD in a stretchy charcoal brown for the Australian autumn, named 'Clara'....cue the Ooh la las!


I had the honour of being Nicole's first blog post! So welcome, Nicole to the blogging comunity and congratulations on your first post!  I hope to see many more from this talented and lovely lady and I hope you take a minute to check out Nicole's freshly pressed blog (and her sidekick puppy too!)

Have a nice week-end everyone!


Wednesday 1 May 2013

May Day

Hi everyone, happy May 1st!   I'm back from a short visit to Germany, and look what popped up while I was away: 
Ooh-la-la......  Rosie from Haberdashery Blues has whipped up an ethereal sleeveless GPD in a Lizzy House Twinkle Twinkle fabric, complete with a twirly tulle underskirt - what a result.  What can I say?  I am in love...
 
You can see more photos and details of this project, as well as some of Rosie's other creations here, on the new Haberdashery Blues Wordpress blog, which has just moved from Blogger.  If you haven't read Rosie's blog before, you're in for a treat - I adore her style and use of colour (and check out that amazing quilt in the sewing archive).
 
Thank you Rosie, and everyone who has given this dress a go!  I'm so delighted to see your versions and have posted all of them in a new tab on my blog, for the moment called "Your Renditions".
 
You've all inspired me to get colourful and creative, and now that the sun is out I'm itching to get cracking on some bright summer dresses.  While in Heidelberg I scored just over 2m of this cotton / spandex print at Stoffe Lott:
 
I hope your May is off to a glorious start!