There's been a lot written about "stash busting" - what to do with all those extra yards of fabric you've accumulated over the months and years since you began sewing. Colette Patterns has just put out a great little design out to conquer that. The bigger problem for me has always been what to do with scraps - you know, those little pieces left after you cut out a pattern - too small to make a garment from, too big (and too painful) to throw away... So I thought I'd do a little series of my own to contribute to the ideas on what to do with scraps!
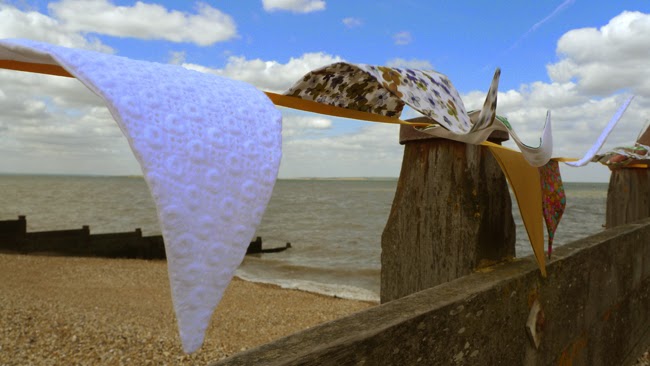
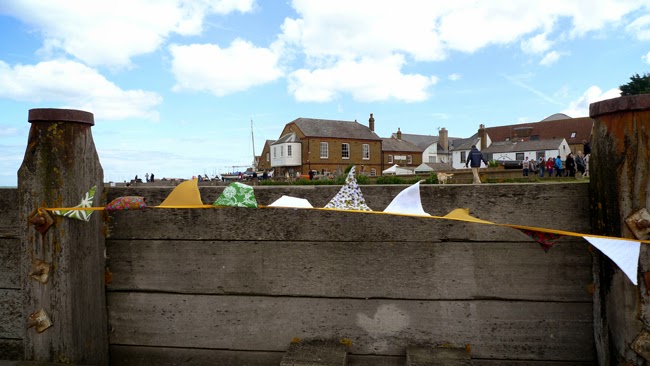
The first is one of my favourite adopted English traditions - bunting. Little fabric flags which hang from a ribbon and flutter in the wind. You see them everywhere for parties, picnics and especially in summer. They shout, "celebrate!" and if you're a reader of my blog you may have already noticed that I'm a fan. Actually, I'm slightly obsessed.

I've made a lot of bunting over the years and I've also given a lot of it away. To a friend who was getting married and wanted miles of bunting hanging from the trees, I passed on a strand from my own engagement party to get started. I made my niece a strand for her bedroom, using fabric from dresses I'd sewn for her made of beautiful cotton voile fabric with whimsical fairy tale scenes.
They are great personal gifts, they are reusable, and they are an instant gratification, low effort, mood enhancing sewing project, and you can never have too many. But that's not my favourite thing...
...What I think is especially cool about bunting, if you already make your own clothes, is that they become little memory capsules of what you were sewing at a certain point in your life. If you make them regularly then over time you'll have a catalogue of your projects and a reminder of how your tastes and styles have changed, and all the memories of your projects along the way...

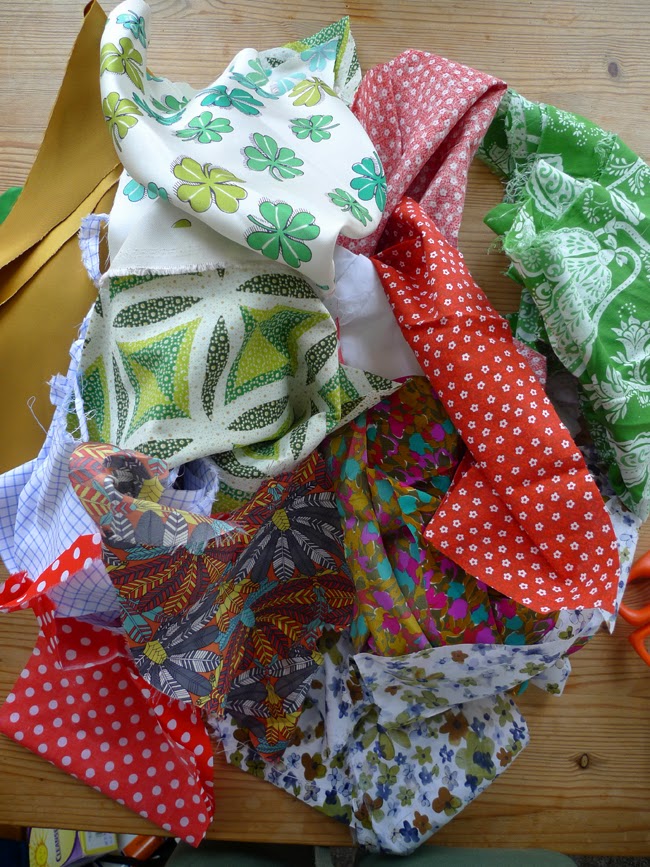
I bought the colourful fabric on the left around the time my niece was born. It reminds me of the weather that week and how happy we all were, and even though the blouse I made wasn't that successful, I still get warm and fuzzy feelings when I look at it. You might recognise the gold flag in the middle from my Elisalex and the green and white became an Anda.
The white flag is below is from the "bianco"dress that I made for my honeymoon, and the watercolour like flowers to the right became a tea dress that I haven't actually worn yet, but I remember the sunny and slightly heady Saturday afternoon last year when I bought the fabric in Dalston market, after a few too many pub stops on the way!

So, on to the more important business of how to make your own. There are no rules of course, but here's what I do. I use bias binding for the string, and with three metres you can fit about 13 A4 sized flags.
First, draw a triangle shape (or any shape!) on a piece of paper. Include seam allowance. Cut two pieces for each flag - a front and a back.

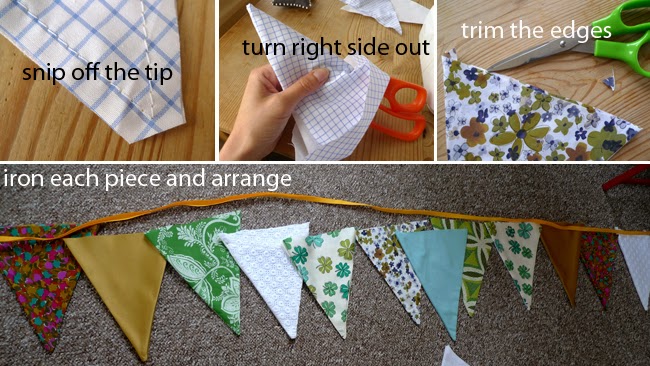
Sew the front and back right sides together, down the sides of the flag, leaving the top open.

Trim the bottom of the fag and turn right side out and clip away the seam allowance from the top of the flag. Once you've finished all of your pieces, the fun part of arranging them.
As I mentioned I use bias tape as the string holding the flags together. You'll need to iron it in half lengthwise first.
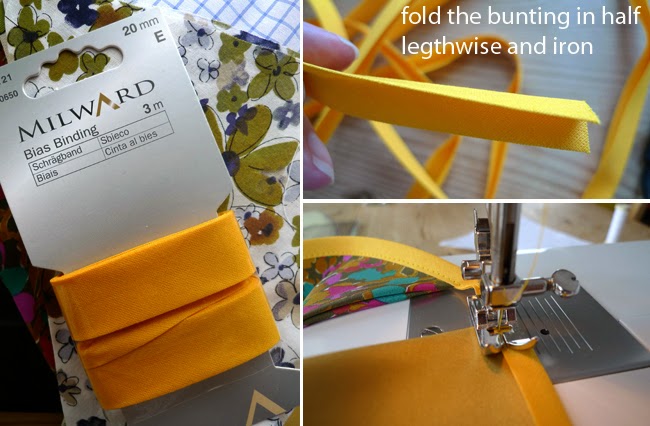
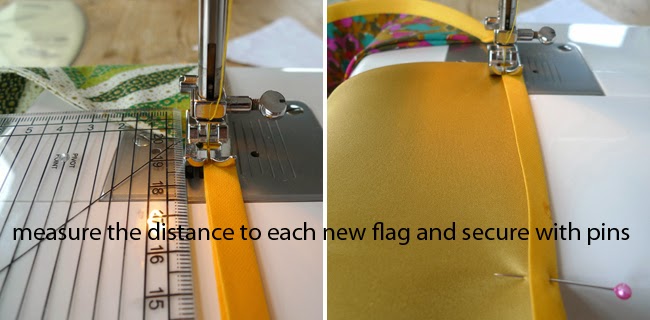
To attach each flag, sandwich each one between the bias tape, pinning each in place as you go. I like to pin one at a time, measuring as I go and using pins to secure each new flag in place. Sew close to the lower edge of the bias tape.
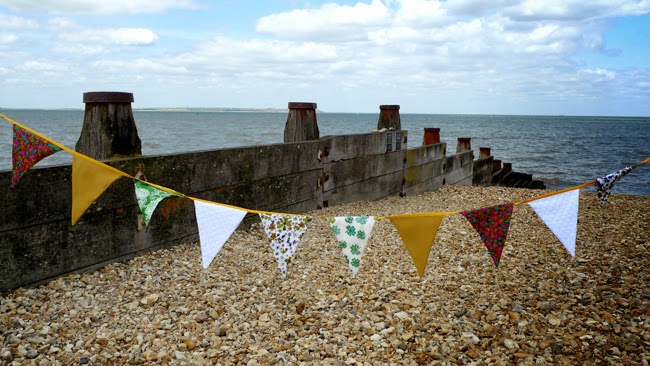
And there you have it!


I have a few more of my favourites to come -- but would love to know, what do you do do with your scraps?
No comments:
Post a Comment