Hello everyone!
Here's a quick tutorial I put together before the Big Move and never had a chance to post. It's a how-to on sewing corner pieces together - have you tried this?
I didn't even realise that I didn't know how to sew corners like this, until I sewed myself into one (more mentally, than physically) and was rescued by a brilliant sewing instructor who showed me the way out of my right-angle traffic jam... and then the possibilities opened up.

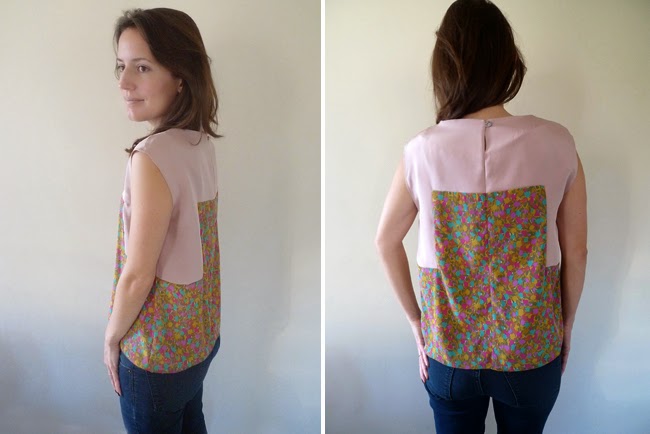
For this tutorial, Fabric 1 is the flowered fabric and Fabric 2 is the pink fabric.

See diagram below:
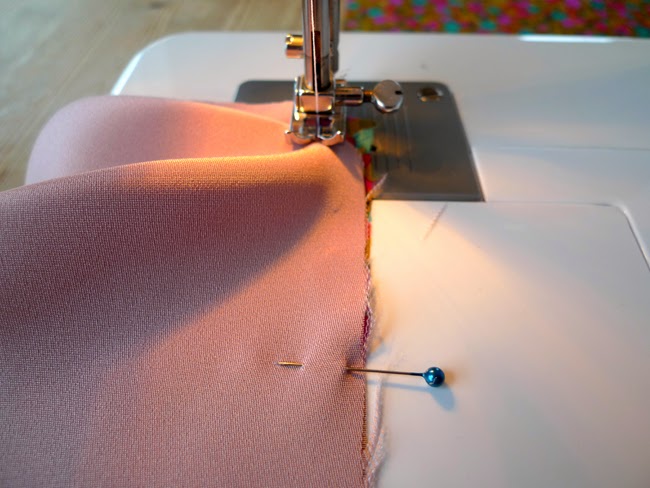
*Lay Fabric 2 face down on top of Fabric 1 (right sides together).
*Match the edges of the first seam you are going to sew. (Here, the top edge of Fabric 1)
*Stitch down the length of your first steam and stop at a pivot point, where the two corners diverge

*When you get to the pivot point, drop your needle in the fabric and lift your sewing machine foot.
*With scissors, snip the top fabric only (Fabric 2) close to the needle, but not all the way through to the needle.
*Pivot both pieces of fabric clockwise 90 degrees, so that the second stitch line is in sewing position. Open the top fabric (Fabric 2 - the one you just snipped) and pull it around clockwise so that it matches the edge of Fabric 1.
Don't overthink this -- as my wise sewing instructor said, "it will be obvious!"

*Sew down the length of the second seam.
It's really worth practicing this a few times before you try this on your favourite fabric.
I got a little impatient on this blouse and didn't do a few practice runs first...with this there's really no going back!

This is a handy little trick when you have two pieces of fabric, neither big enough to be a blouse on their own. Simply draw seamlines onto an existing pattern, add seam allowances and stitch together as above.


Happy Sewing!
No comments:
Post a Comment